How To Make Collage Art
Glue. Paper. Scissors. These three elements are enough to make magic.
Welcome to Collage 101, a detailed journey into an amazing medium. The aim of this series is to educate and inspire you to delve into the world of collage art. We will explore several topics, from the best place to find books and magazines for your work, to tools of the trade and different techniques. By the end, you’ll be a collage master.
But first, we have to begin at, well, the beginning.
What Is Collage?
The word collage comes from the French word coller, which means “to glue” or “to stick together.” Collage is an art form that consists of cutting and manipulating materials and ephemera, such as paper, fabric, and objects, and gluing them onto a surface to create a new work of art with its own context and meaning. The pieces need to fit together just right to complete the final image.
Though the techniques have existed for hundreds of years, collage as we think of it today originated at the turn of the 20th century during the Modernist movement, pioneered by artists like Georges Braque and Pablo Picasso. Many forms of collage have emerged since, most notably photomontage, decoupage, assemblage, and digital collage.
How To Make A Collage
One of the best things about collage is its low barrier to entry. I always say that all you need is something sharp and something sticky. Glue, paper, and scissors are the building blocks of collage. You can create your first collage with a pair of scissors, a glue stick, and junk mail you have around the house. Before long, you’ll be venturing into the world of X-Acto knives and vintage Life magazines to tell intricate stories.
What Is The Collage Process?
Let’s kick off Collage 101 by making a collage together. I will take you through my entire process, from conception to creation.
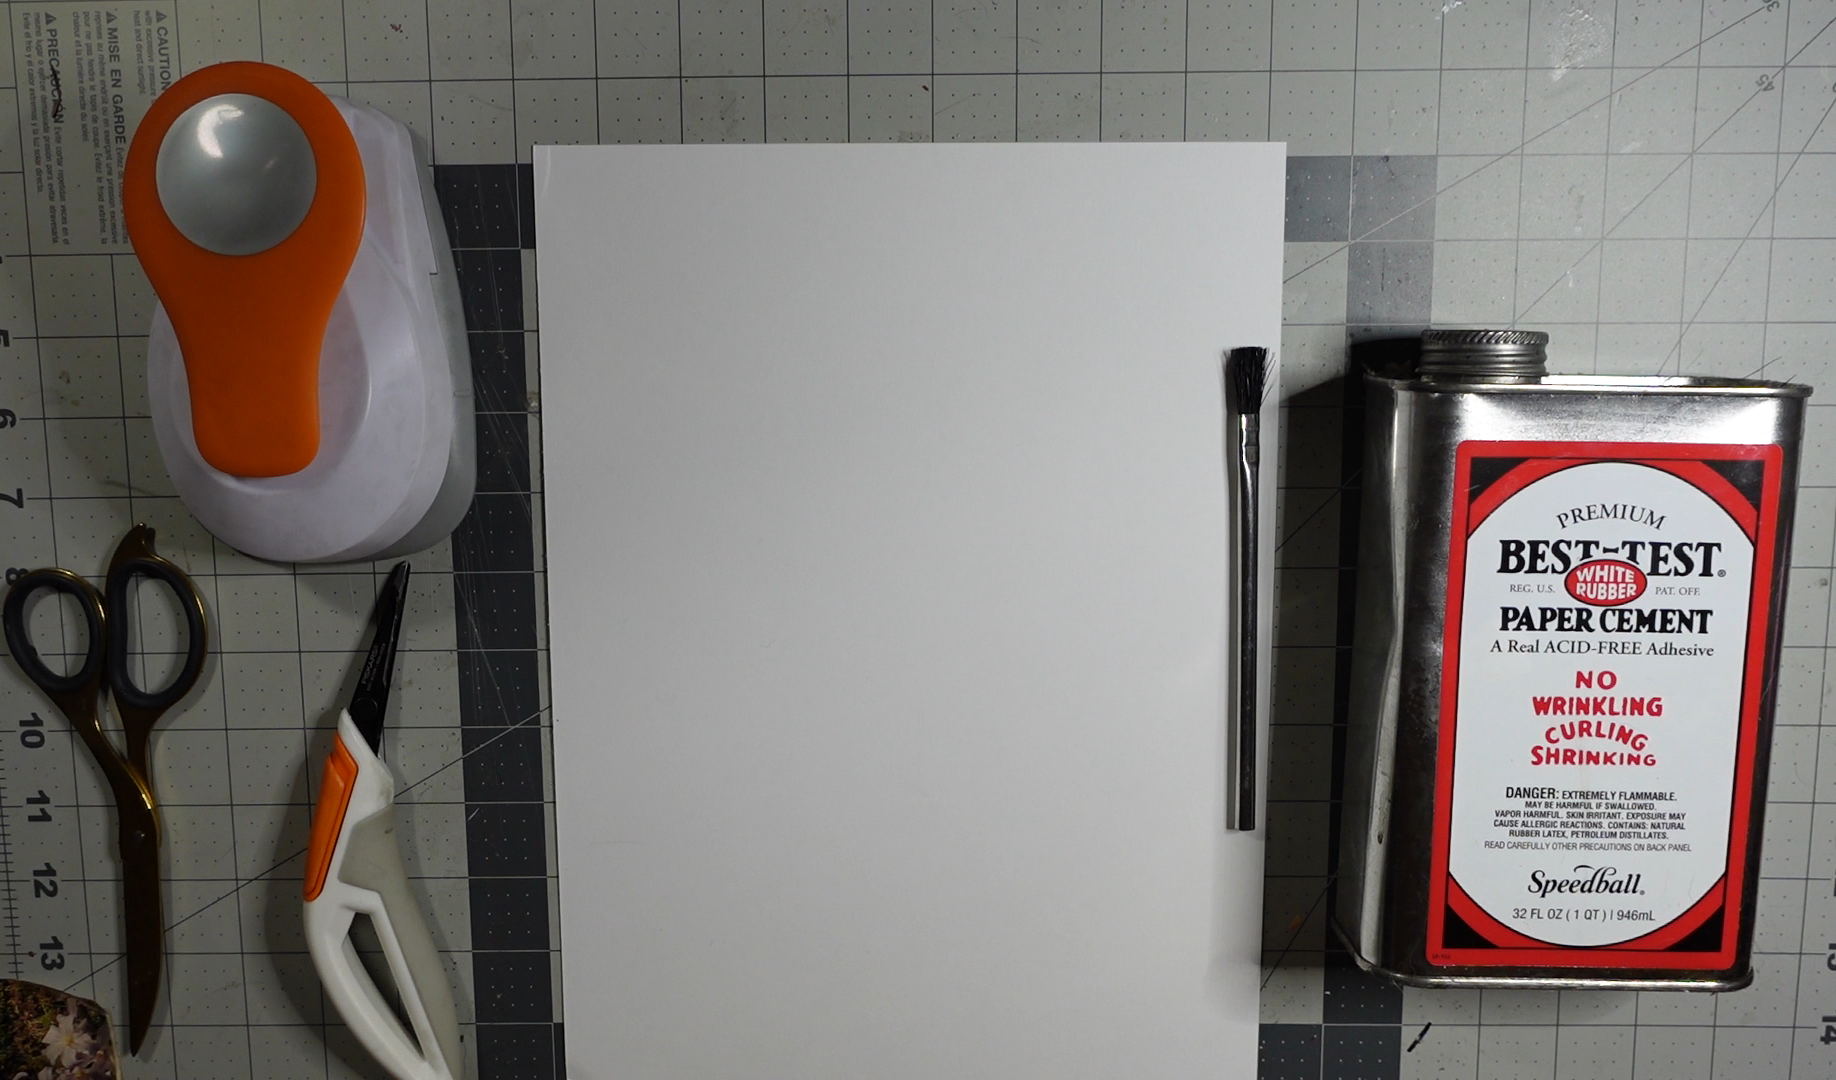
First, we have our tools and supplies. I always use two pairs of scissors, one larger pair to remove excess paper around the images I want and to cut out big objects, and a smaller pair of precision scissors for tight, clean, and detailed cuts. The last cutting tool I am using is a circle hole punch. My substrate—the surface I am gluing my images to—is a 9”x12” sheet of paper. For glue, I am using the Best Test rubber cement and applying it with a small brush.
On to the images. I want to keep this piece simple, playing with different textures. I loved this picture of an empty suit from this vintage clothing ad. I decided to pair the suit with the image of a warrior from an old National Geographic, to tell the story of the past meeting the present—I was thinking that the warrior’s descendants will come to wear the suit someday. I added the picture of the classic automobiles to represent the journey from past to present, and used the green strips and flowers for the colors and textures I wanted.

My favorite part of the collage process is the cutting, however, I didn’t do much of it here. I took my time to carefully cut the suit out and use my circle punch for the warriors. I tore the green strips, flowers, automobiles to get the shapes I wanted.

Composition—the process of placing images on the substrate—was super easy for this collage. I wanted my suit slightly off center, and my warrior on top of it as if he would slip inside of it one day. For the rest of the piece, it was just a matter of layering them on top of each other until I was satisfied.
On to the gluing. I like using the Best Test rubber cement because the images never wrinkle, and I have time to adjust the pieces before it dries down in case I’m not happy with the placement. Plus, it’s acid free and archival, which means my images will not be damaged or yellow over time.
While I was gluing, I noticed that on the back of the page with the flowers was an ad for an airline, which fit my journey theme, so I decided to use that side instead. It goes to show that last minute changes to strengthen the collage pop up even when it seems finished.

Here is the final piece! I call it “Movement.”

And that’s it for our quick introduction to collage! Check out the full process in the video below.